type
status
date
slug
summary
tags
category
icon
password
AI summary
背景
承接第一篇“关于怎么搭建一个这样的blog”。只是觉得这个内容的通用性比较高,所以抽出来独立成篇。可能是因为多年写代码的职业病吧,喜欢区分“特有的”和“公共的”。
域名申请及DNS配置
- 想要自定义域名,首先你需要注册一个域名。比如在namecheap注册一个域名,便宜的只需要几十块钱 https://namecheap.com/promos/99-cent-domain-names/
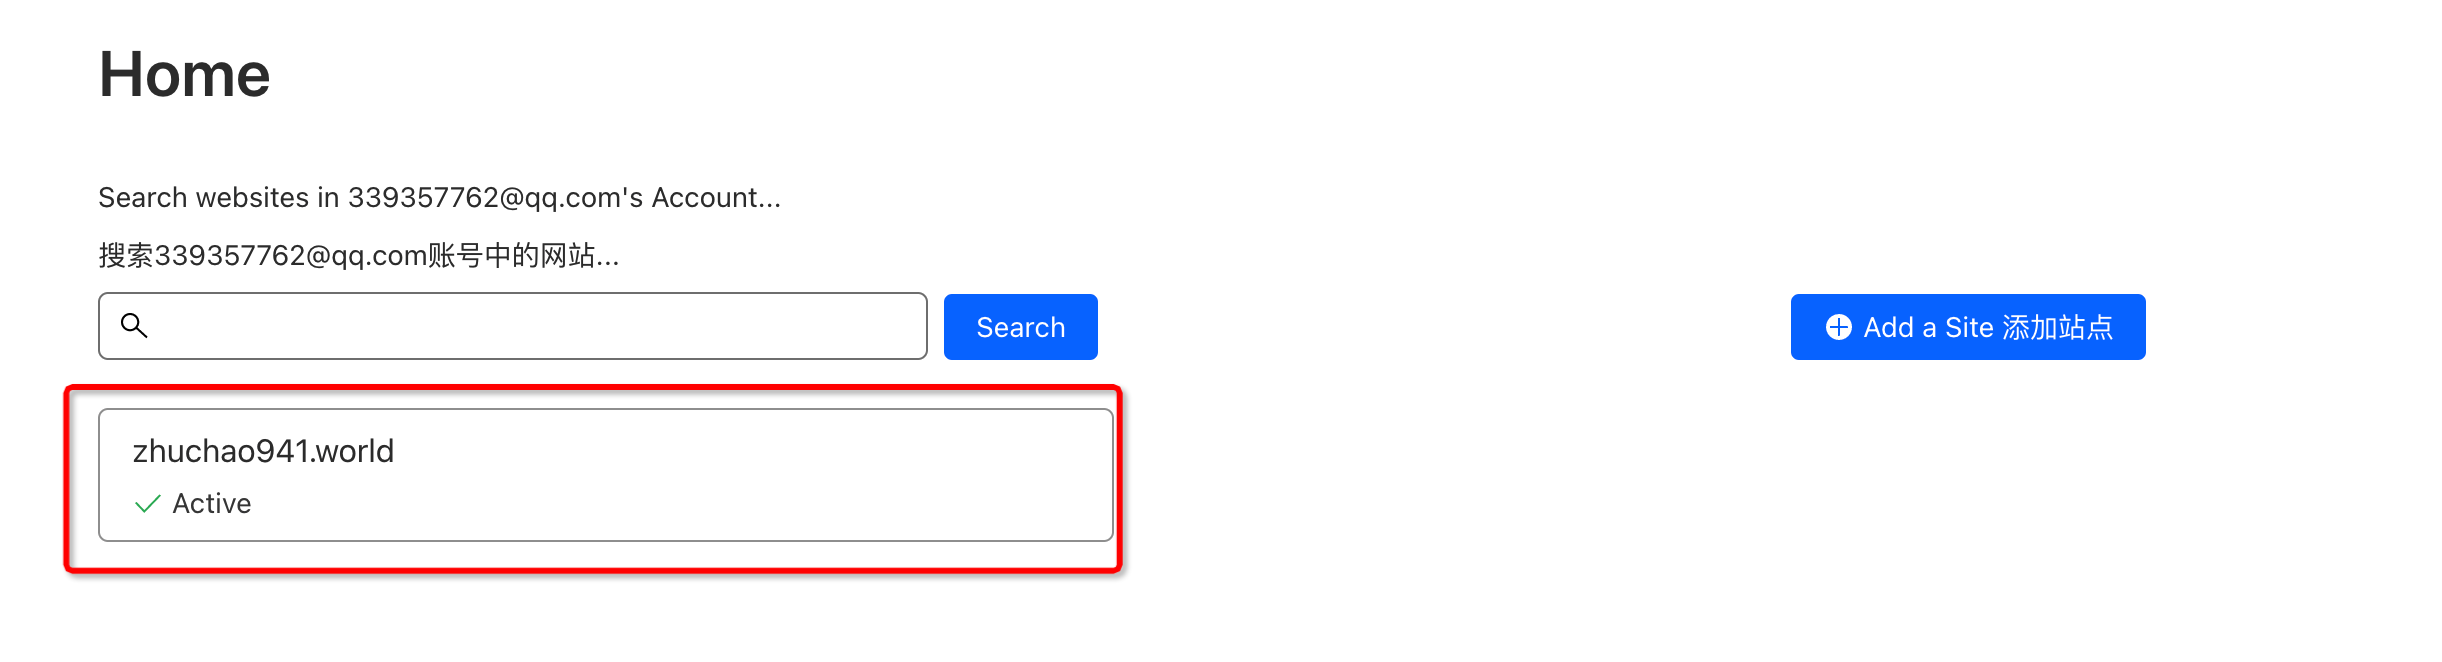
- 注册并登录Cloudflare,通过Add a Site把域名添加到Cloudflare

- 在新创建的website里添加dns记录,type=CNAME,target=cname-china.vercel-dns.com,proxy status=关闭

注意:这里的proxy指的是由Cloudflare做一层代理,也就是dns解析出来对应域名的ip并不是你填的ip,而是Cloudflare的ip,这样可以更好的隐蔽你的源站ip。我这里为了访问速度就选择了不代理
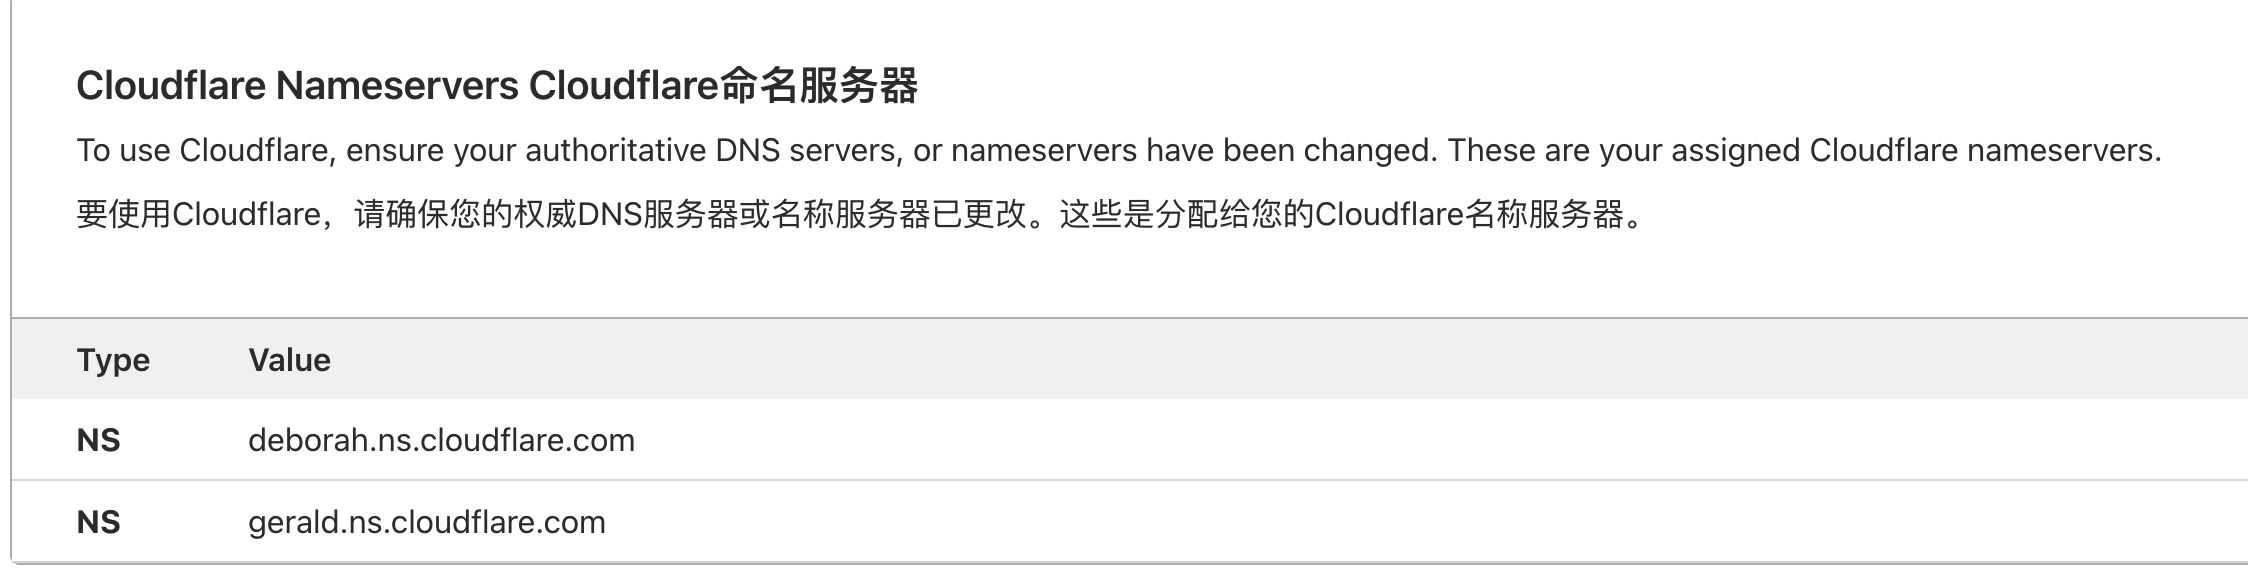
- 去namecheap里配置dns的nameserver,这个Cloudflare都dns配置里有对应的提示

Vercel配置自定义域名
把对应的域名添加到应用配置里的domains里即可

- Author:黑微狗
- URL:https://blog.hwgzhu.com/article/how-to-use-your-customized-domain
- Copyright:All articles in this blog, except for special statements, adopt BY-NC-SA agreement. Please indicate the source!
Relate Posts